Pinhole photography project.
In the first pinhole photography experiment lesson, we needed to try and test to see how long and what the results may be when doing this experiment. Therefore, we were placed into groups, there was roughly about 5 people in our group; each of us were assigned a part in the experiment. My role was to be project manager, so i had to make sure i was sure i knew what i was doing, and that nothing messed up. After this, we were given a biscuit tin (approximately. 30cm in length & 8cm in width). Each group was given a different type of tin, the size of them was also different. Next, we went into the dark room to place our photographic paper in so it can be exposed, then we closed the slap securely so that no light could get in. Once we were all ready, we went onto the link in the school building, the timer was ready and we were going to begin. We opened the flap on the biscuit tin and kept it in place to make sure it didn't move. The timer was set for 40 seconds, once it was up, we closed the flap. After that, we carefully bought the tin back inside and straight into the darkroom for it to develop. Firstly, we removed it from the tin and placed it into the developer until we could see a image forming. Then we placed it into the stop substance and finally into the fix for about 1 minute. After rinsing the paper, we hanged it up, then switched on the light so we could see the image clearer. We were very surprised once we saw the image, as it came out really well, moreover the image was really sharp so you could clearly see the things the camera were pointing at, eg. buildings and the link. Once, the photographic paper was dry, we scanned it into the computer, so we could invert the picture into a positive one. We were really happy with our first experiment and we were even more excited to try our own pinhole photo.
My own experiments.
I tried this experiment several times before it came out as i wanted it to. However, i guess doing this made me think about how i could improve the image so it was better.
|
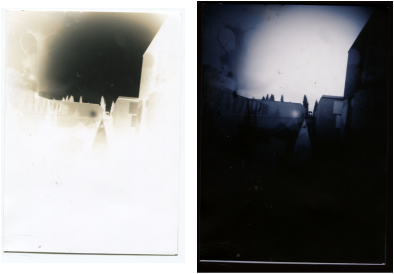
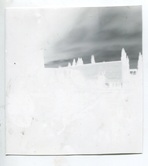
In my first and second experiment, it didn't come out as i expected it to be. The images came out fully grey and it was not clear what was in it. One of the reasons this may be is because i accidentally moved the camera whilst doing this. Another reason could be that i exposed it for too long. The first time i exposed it for about 25 seconds; the second time i exposed it for 20 seconds. So i realised that as my pinhole camera was rather small, i had to expose it for less time so it wasn't over-exposed.
|
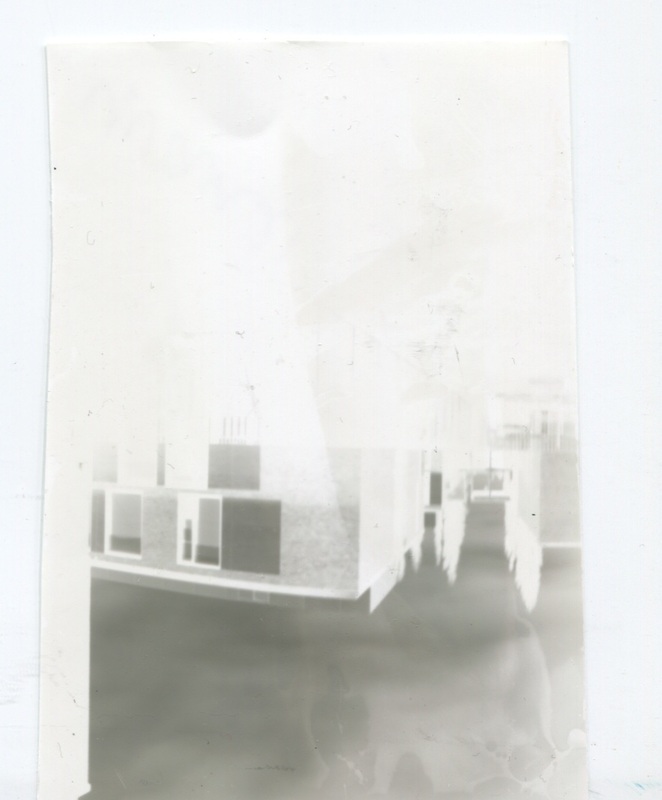
Afterwards, i tried and tried again and then finally i found the problem as to why my images weren't coming out. I realised that i had two holes in my camera, which was no good. Therefore i was given another container to experiment with. As this container was a bit larger than my original one, i had to expose it for longer. So, once the photographic paper was inside, i bought it onto the link and carefully opened the flap. I made sure i didn't move the camera and exposed it for 20 seconds. Once the time was up, i closed the shutter to make sure no light could get in and then bought it back into the darkroom. I took the photographic paper out of the tin and placed it into the developer. Slowly, i could see an image appearing and i could clearly see the things in it. Once i saw the image, i used the tongs and placed it into the stop and finally into the fix. When the lights were on and it was hanged up i felt quite happy and relieved. The pinhole image finally worked and it came out well.
|
|
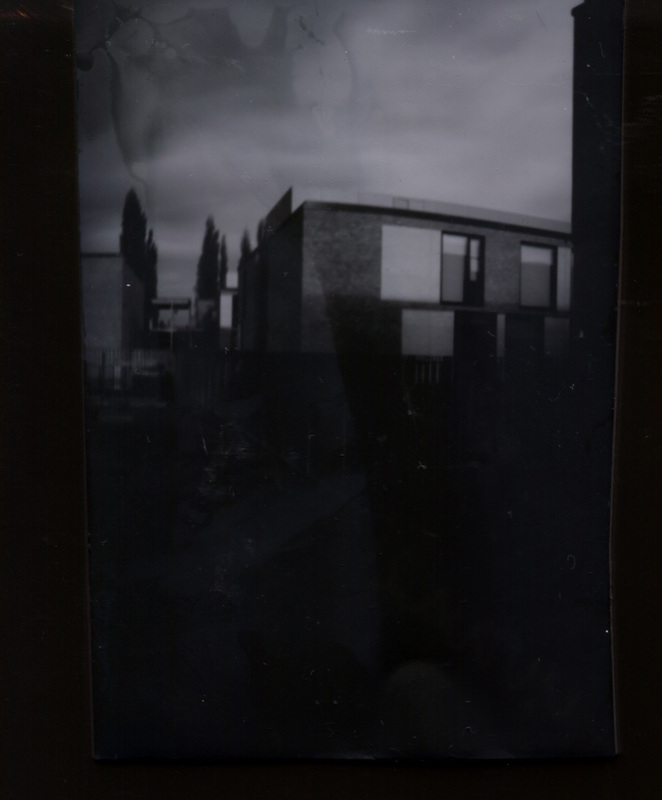
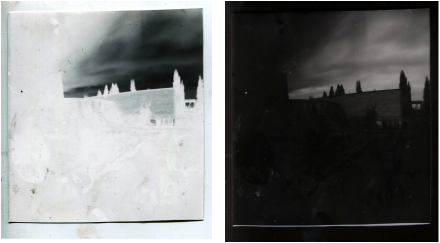
This is my 3rd attempt of pinhole photography. This is one of my successful ones. I placed it onto the railings and kept it still. The image came out relatively well. After i inverted the picture, I found it quite dark, however we can still see the buildings. I exposed it for 20 seconds, but i think i still exposed it for too long as it looks over-exposed. The focus is mainly on the top right hand side of the image, if it was more in the centre it would be better. The sides of the image is in focus. The composition of the photo is also well, this is because it's neat and it's not over-crowded. Moreover, the texture of the clouds in the sky makes it look quite interesting. Next time i do this, i could make sure that the pinhole is more in the centre of the image so it's more in focus and it's exposed for the right amount of time.
|
|
I think this pinhole image is my best one. This is because we can see a clear contrast of the grey and black parts of the trees and the buildings, moreover it has a wide tonal range. When i scanned it into the computer i had to rotate the image and then i inverted it. I quite like the composition of the photo as well. I think i should've cropped the bottom parts so the depth of field is more spacious. The focus is mainly at the top of the image, it would look more better if it was in-focus throughout the whole image. Also, if i exposed it closer to the buildings it may of looked more interesting. The timing of the exposure is relatively accurate however, it still may be over-exposed so i should expose it less (about 15 secs). Moreover, the texture of the photo is very clear and smooth, it doesn't look to rough.
|
|